Outline for Russian Honey Cake: A Delicious Journey into Medovik
Introduction to Russian Honey Cake
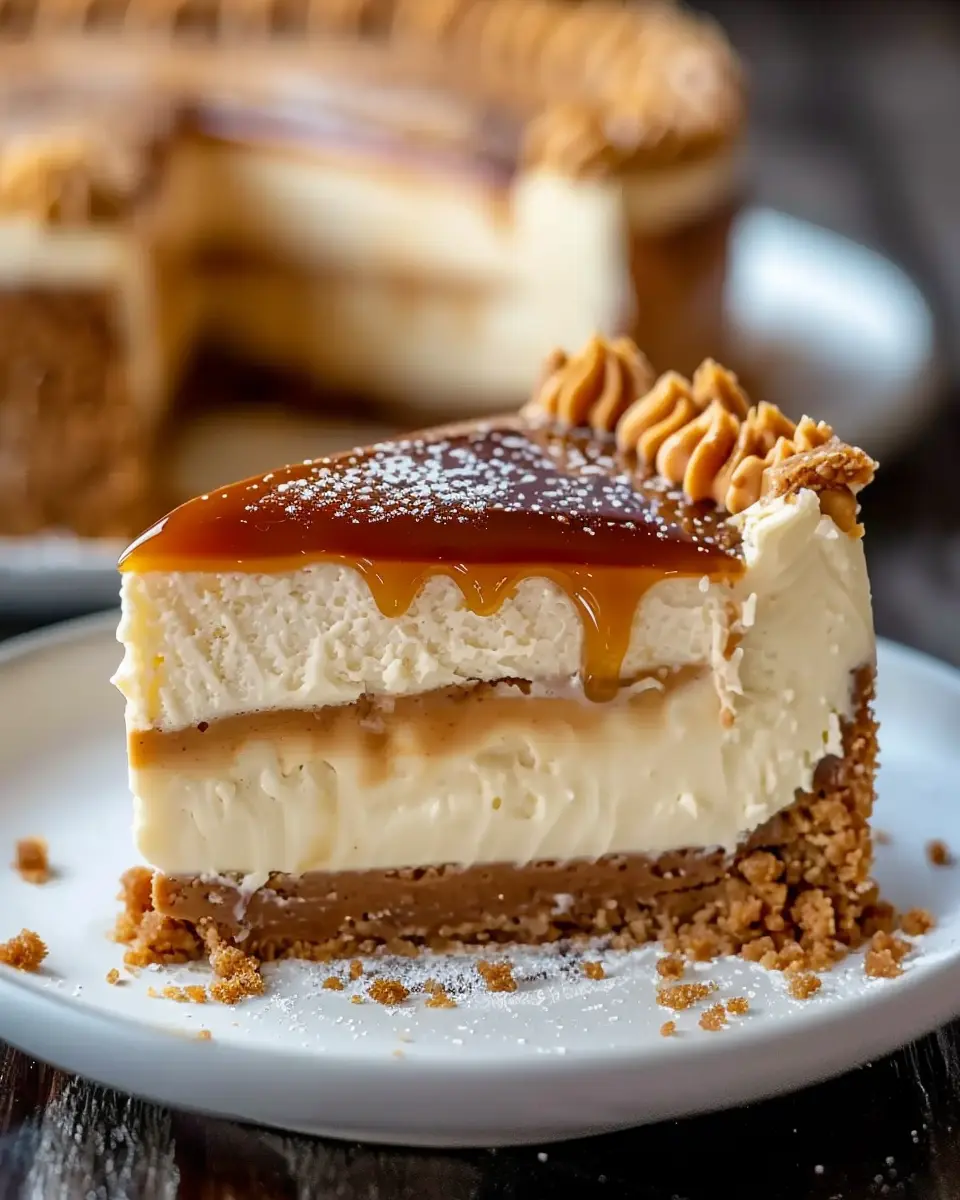
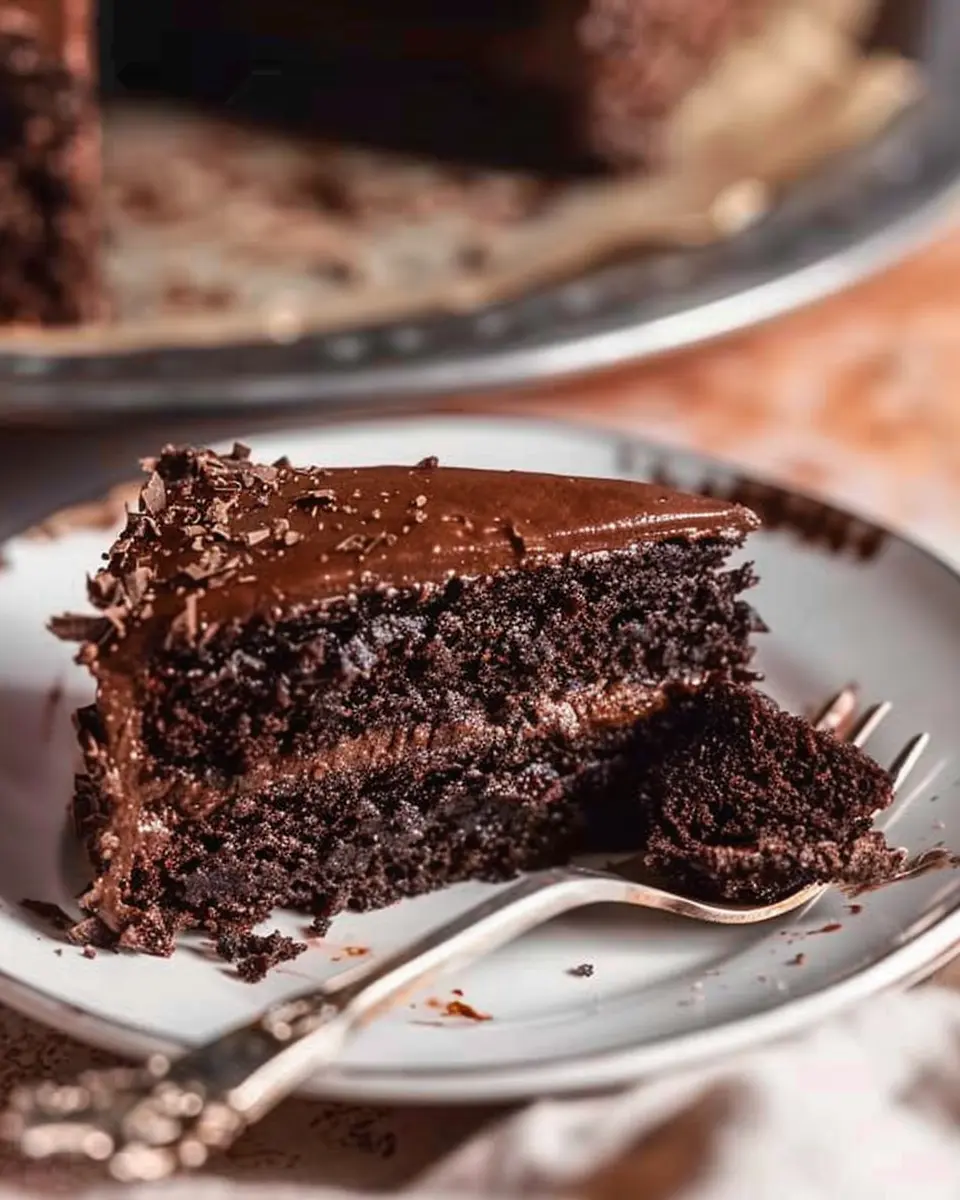
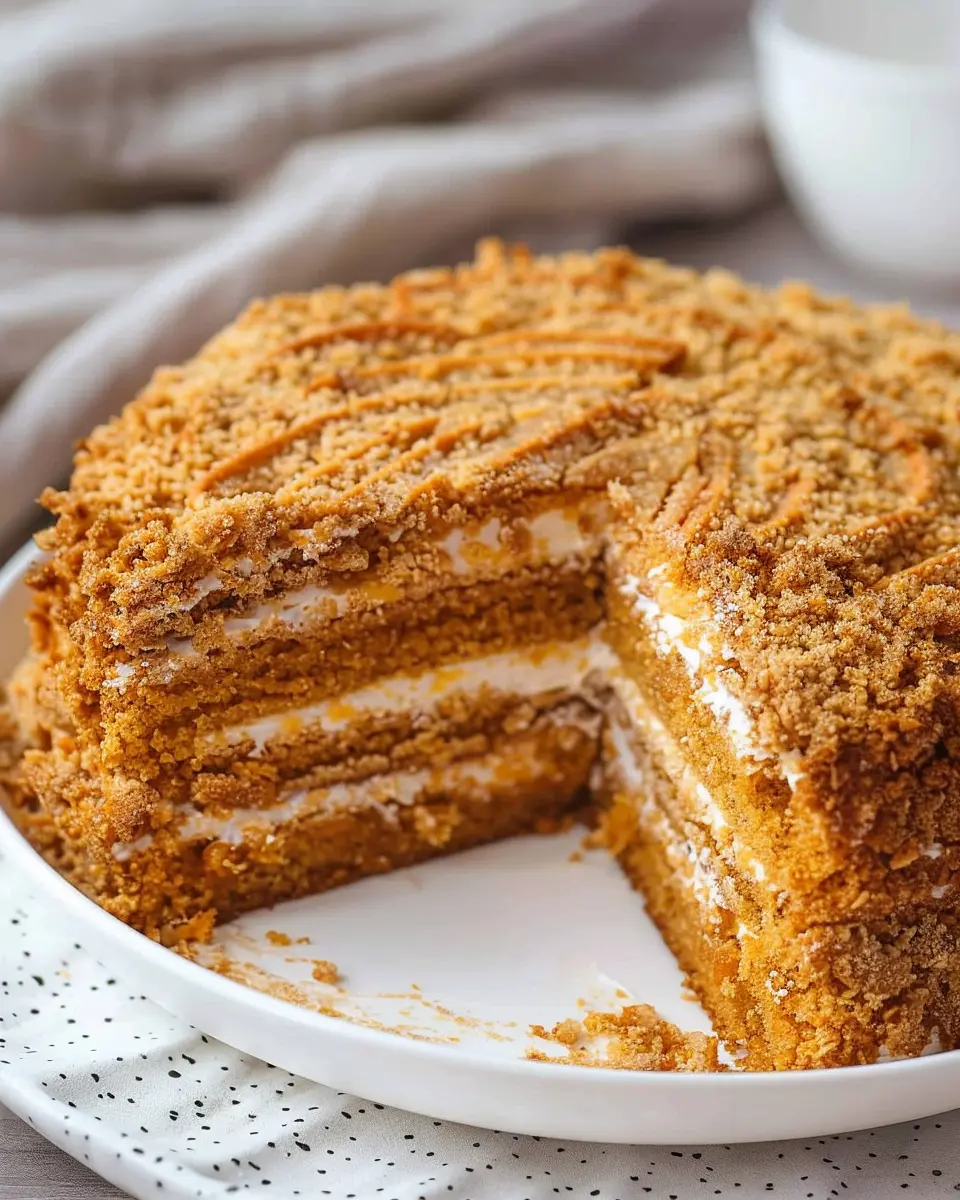
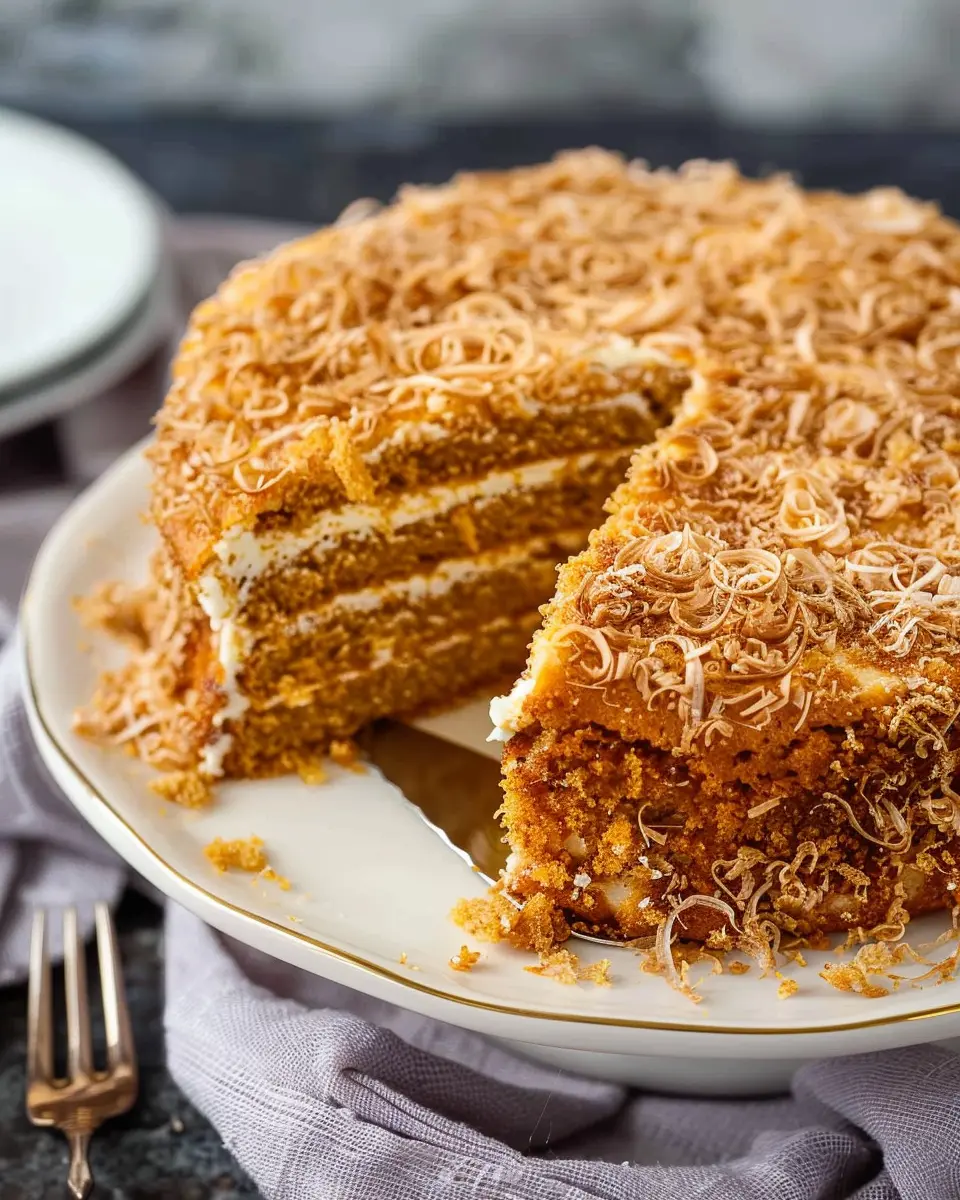
Have you ever tasted a cake that feels like a warm hug from the inside? Welcome to the world of Russian Honey Cake, known in its native land as Medovik. This delightful dessert has a rich history, tracing back to the imperial kitchens of Russia where it was crafted to showcase the culinary sophistication of the time. What makes Medovik especially unique is its layered structure, featuring thin honey-infused cakes alternated with a creamy, dreamy filling that’ll whisk you away with each slice.
What’s fascinating about Medovik is not just its flavor but also the story that comes with it. Traditionally, this cake was made for special occasions, often baked by loving hands for holidays or significant milestones. With origins believed to date back to the 18th century, the cake has evolved from a luxurious treat to a beloved everyday dessert, enjoyed by families across Russia.
Making Russian Honey Cake at home may sound daunting, but once you dive into the process, you’ll find it’s incredibly rewarding. Each component, from the honey cakes to the creamy filling, embodies warmth and richness, making it a perfect choice for gatherings or a cozy night in.
This cake allows for creativity too. You can adjust flavors, mix fillings, and even try gluten-free options. We will walk you through a step-by-step guide to ensure your journey into the world of Russian Honey Cake is as smooth as buttercream. So preheat your oven, gather your ingredients, and let’s embark on this delicious adventure together!
Ingredients for Russian Honey Cake
Before we jump into the preparation, let’s talk about the ingredients you’ll need to create this mouthwatering Russian Honey Cake. Keeping it simple and fresh is key, and you’ll need:
- Flour: About 2 ½ cups, all-purpose is best.
- Honey: ½ cup, ideally a floral or buckwheat variety for depth.
- Butter: 1 stick (1/2 cup), unsalted and softened.
- Sugar: 1 cup, granulated.
- Eggs: 2 large, room temperature for better mixing.
- Baking soda: 1 teaspoon, for that fluffy texture.
- Sour cream: 2 cups for an enriching creamy filling.
- Vanilla extract: 1 tablespoon, adding a warm undertone.
You’ll also want a pinch of salt for flavor balance. These ingredients create not just a cake but a symphony of flavors and textures that will dance on your palate!
Step-by-step Preparation of Russian Honey Cake
Now, let’s get into the heart of the matter—the preparation of your Russian Honey Cake. Follow these steps carefully, and don’t rush; the journey is as delightful as the destination.
-
Make the Batter: In a large mixing bowl, combine the softened butter, sugar, and honey. Use an electric mixer to cream them together until smooth and light. This might take about 3-4 minutes.
-
Add the Eggs: Crack your eggs into the creamy mixture one at a time, beating well after each addition. This ensures even blending.
-
Mix Dry Ingredients: In a separate bowl, whisk together the flour, baking soda, and salt. Gradually add this mixture to the wet ingredients, mixing until just combined.
-
Divide and Bake: Preheat your oven to 350°F (175°C). Divide the batter into 6 equal portions (to make 6 layers). Pour each portion onto a parchment-lined baking sheet—spreading it evenly into circles about ¼ inch thick. Bake each layer for around 5-7 minutes or until golden brown.
-
Cool the Layers: Once baked, let the layers cool on a wire rack. Cooling is crucial as it prevents soggy layers.
-
Prepare the Cream Filling: While the layers are cooling, whip the sour cream with sugar and vanilla extract in a bowl until it reaches a smooth consistency. This cream will serve as both the filling and frosting of the cake.
-
Assemble the Cake: Begin layering your cake; start with one honey layer, spread a generous amount of the cream filling, and continue this process until all layers are stacked. Finish with a layer of cream on top.
-
Chill: Cover the assembled cake with plastic wrap and let it chill in the refrigerator for a minimum of 4 hours, ideally overnight. This allows the layers to meld together beautifully.
-
Serve: Once chilled, slice the cake and serve. The cake’s flavors deepen as it rests, making the wait worthwhile.
Making your own Russian Honey Cake may take some time, but each step will enhance your cake’s flavor, ensuring a delightful experience.
Variations on Russian Honey Cake
Why stop at the classic version when you can explore Russian Honey Cake in various delightful ways? Here are a few fun variations you may want to try:
-
Chocolate Medovik: Add cocoa powder to the cake layers for a chocolate twist. Just replace a portion of the flour with cocoa, and pair the filling with chocolate ganache.
-
Nutty Delight: Incorporate finely ground walnuts or almonds into the sponge layers or sprinkle them on top for extra crunch and flavor.
-
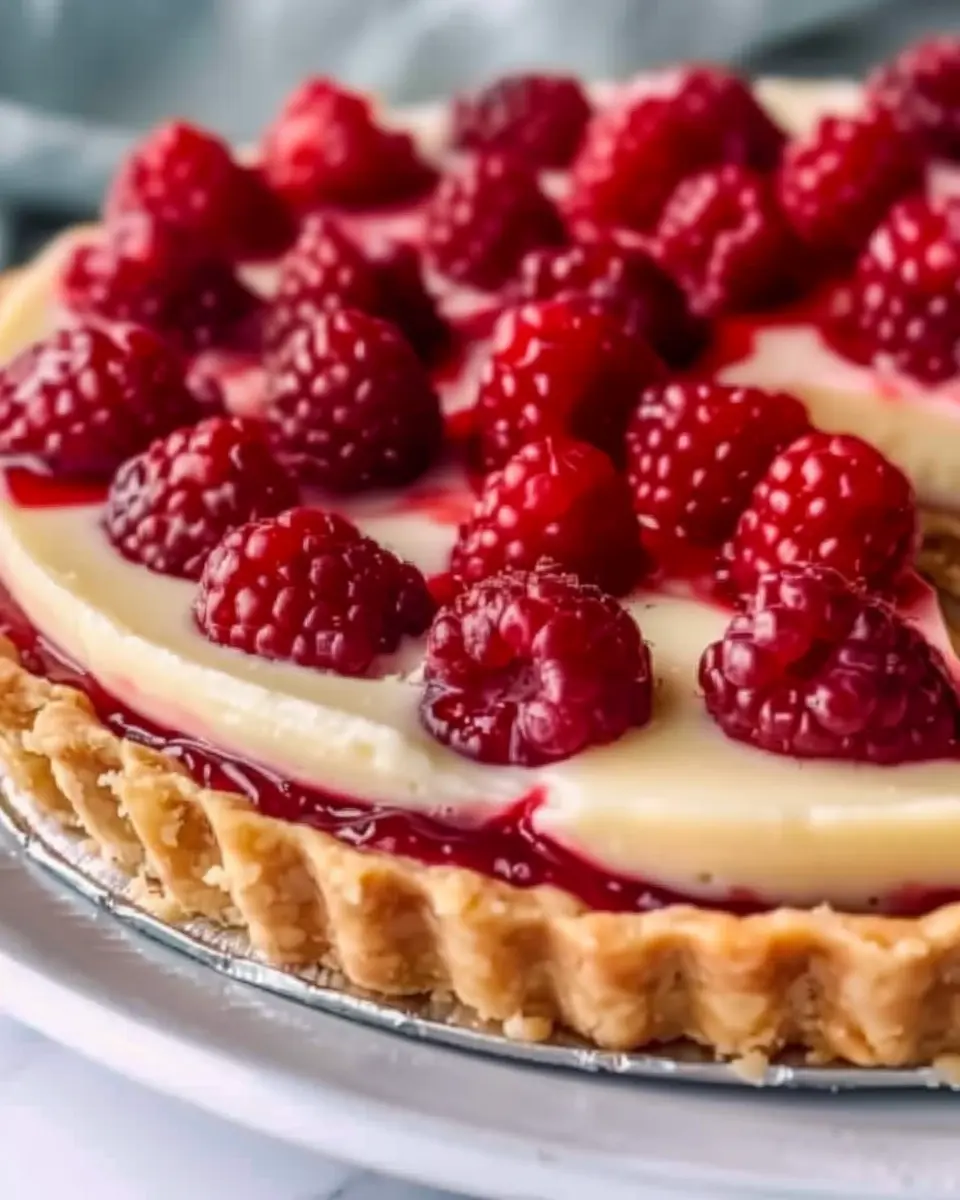
Fruit-Flavored Filling: Mix in fruit purees like raspberry or apricot with your filling for a fruity burst. This brightens up the cake and adds a lovely tanginess.
-
Gluten-Free Option: Substitute all-purpose flour with a 1:1 gluten-free blend. This way, everyone can enjoy this delectable treat, no matter their dietary restrictions!
By experimenting with these variations, you can create a Russian Honey Cake that’s uniquely yours. Each twist brings its own charm and flavor profile, allowing you to personalize this classic recipe.
Cooking Tips and Notes for Russian Honey Cake
Here are some cooking tips that will enhance your Russian Honey Cake experience:
-
Ingredient Temperature: Ensure your eggs and butter are at room temperature. This helps create a smoother batter and ensures even mixing.
-
Using Quality Honey: Choose high-quality, preferably local honey for the best flavor. It makes a significant difference in the overall taste of your cake.
-
Chill Time: Don’t skimp on the chill time! The waiting allows the flavors to meld together beautifully, and the cake will slice more neatly, making it perfect for presentation.
-
Layer Thickness: Keep the layers consistent; uneven layers can lead to an awkwardly shaped cake. Bake one layer at a time to maintain control over thickness.
-
Storage: Store leftover Russian Honey Cake in the refrigerator, where it will keep for several days. The flavors will continue to develop and improve!
With these tips in mind, you can ensure your cake turns out perfectly, impressing everyone at your next gathering.
Serving Suggestions for Russian Honey Cake
Now that your Russian Honey Cake is baked and beautifully assembled, you’ll want to showcase it perfectly. Here are some serving suggestions to elevate the experience:
-
Presentation: Serve on a beautiful cake stand for a stunning centerpiece. A dusting of powdered sugar on top can add an elegant touch.
-
Pairing: Complement your slice with a cup of strong black tea or a creamy cup of coffee. The bold flavors balance the sweetness beautifully.
-
Toppings: Fresh berries on the side or even a dollop of whipped cream can elevate your dessert! You could also add a drizzle of honey on top for a luscious finish.
-
Occasions: Whether it’s a birthday, a cozy get-together, or an afternoon tea, Russian Honey Cake fits the bill perfectly.
These serving suggestions not only enhance the visual appeal but also the overall flavor experience of your Russian Honey Cake.
Time Breakdown for Making Russian Honey Cake
Wondering how much time to allocate for your culinary adventure with Russian Honey Cake? Here’s a general breakdown:
- Preparation Time: 30 minutes
- Baking Time: About 60 minutes (including baking all the layers)
- Chilling Time: 4 hours minimum (overnight is best!)
- Total Time: Approximately 5.5 hours, mostly hands-off time while it chills.
Knowing this can help you plan ahead, ensuring your dessert is perfectly timed for your gathering or special occasion.
Nutritional Facts for Russian Honey Cake
Before indulging, you may be curious about the nutritional profile of your Russian Honey Cake. Here’s a rough estimate for one slice (based on 12 slices):
- Calories: 360
- Fat: 15g
- Carbohydrates: 54g
- Protein: 5g
- Sugar: 25g
Keep in mind that these values can vary significantly based on ingredient choices. While this cake is a decadent treat, enjoying it in moderation is key!
FAQs about Russian Honey Cake
1. Can I make Medovik in advance?
Absolutely! In fact, Russian Honey Cake tastes better after sitting in the fridge for a few hours or overnight. The waiting period allows flavors to blend and the cake to firm up.
2. What type of honey is best for this cake?
Any kind of honey works, but floral varieties like clover or wildflower add a lovely flavor. Buckwheat honey offers more pronounced, richer notes, making it a great choice.
3. Is it possible to freeze Medovik?
Yes! You can freeze the layers individually. Just make sure they’re fully cooled and wrapped tightly in plastic. Defrost them in the fridge before assembling.
4. What can I substitute for sour cream?
Greek yogurt can be a great substitute if you’re looking for a lighter version. Just ensure it’s full-fat for the best creamy texture.
5. How long can I store leftovers?
Stored properly in the fridge, Russian Honey Cake can last up to a week. The flavors just keep intensifying!
These FAQ’s help clarify common concerns and enhance your baking experience with Russian Honey Cake.
Conclusion on Russian Honey Cake
As you embark on your culinary journey to create Russian Honey Cake, remember that every step is about embracing the process. Whether you’re making it for a special occasion or simply to enjoy a slice with your favorite cup of tea, the love and care you put into this cake will shine through in every bite. This delicious, layered beauty is not just a treat for your taste buds; it’s an experience that connects you to a rich cultural tradition. So, grab your apron, and let the sweetness of Medovik fill your kitchen with warmth and delight! Happy baking!
Russian Honey Cake: The Indulgent Dessert You’ll Love to Make

Indulge in the rich and decadent flavors of Russian Honey Cake, a dessert you’ll love to make and share with friends.
- Prep Time: 30 minutes
- Cook Time: 20 minutes
- Total Time: 4 hours 50 minutes
- Yield: 8 servings 1x
- Category: Dessert
- Method: Baking
- Cuisine: Russian
- Diet: Vegetarian
Ingredients
- 2 cups all-purpose flour
- 1 cup honey
- 1 cup granulated sugar
- 4 large eggs
- 1 teaspoon baking soda
- 1 teaspoon baking powder
- 1 cup heavy cream
- 1 cup sour cream
- 1 cup crushed walnuts
Instructions
- Preheat your oven to 350°F (175°C).
- In a bowl, whisk together the honey, sugar, and eggs until well combined.
- Add in the flour, baking soda, and baking powder, mixing until a dough forms.
- Divide the dough into equal portions and roll out thinly.
- Bake in the preheated oven for 5-7 minutes until golden.
- In another bowl, whip the heavy cream and sour cream together.
- Layer the baked cakes with the cream mixture, adding crushed walnuts in between.
- Refrigerate the assembled cake for at least 4 hours before serving.
Notes
- For best results, let the cake sit overnight to allow the flavors to meld.
- You can substitute the crushed walnuts for your favorite nuts.
Nutrition
- Serving Size: 1 slice
- Calories: 350
- Sugar: 25g
- Sodium: 150mg
- Fat: 20g
- Saturated Fat: 10g
- Unsaturated Fat: 7g
- Trans Fat: 0g
- Carbohydrates: 40g
- Fiber: 1g
- Protein: 6g
- Cholesterol: 70mg
Keywords: Russian Honey Cake, Medovik, dessert, indulgent cake