Introduction to Brooklyn Blackout Cake Recipe
A decadent chocolate treat with a rich history
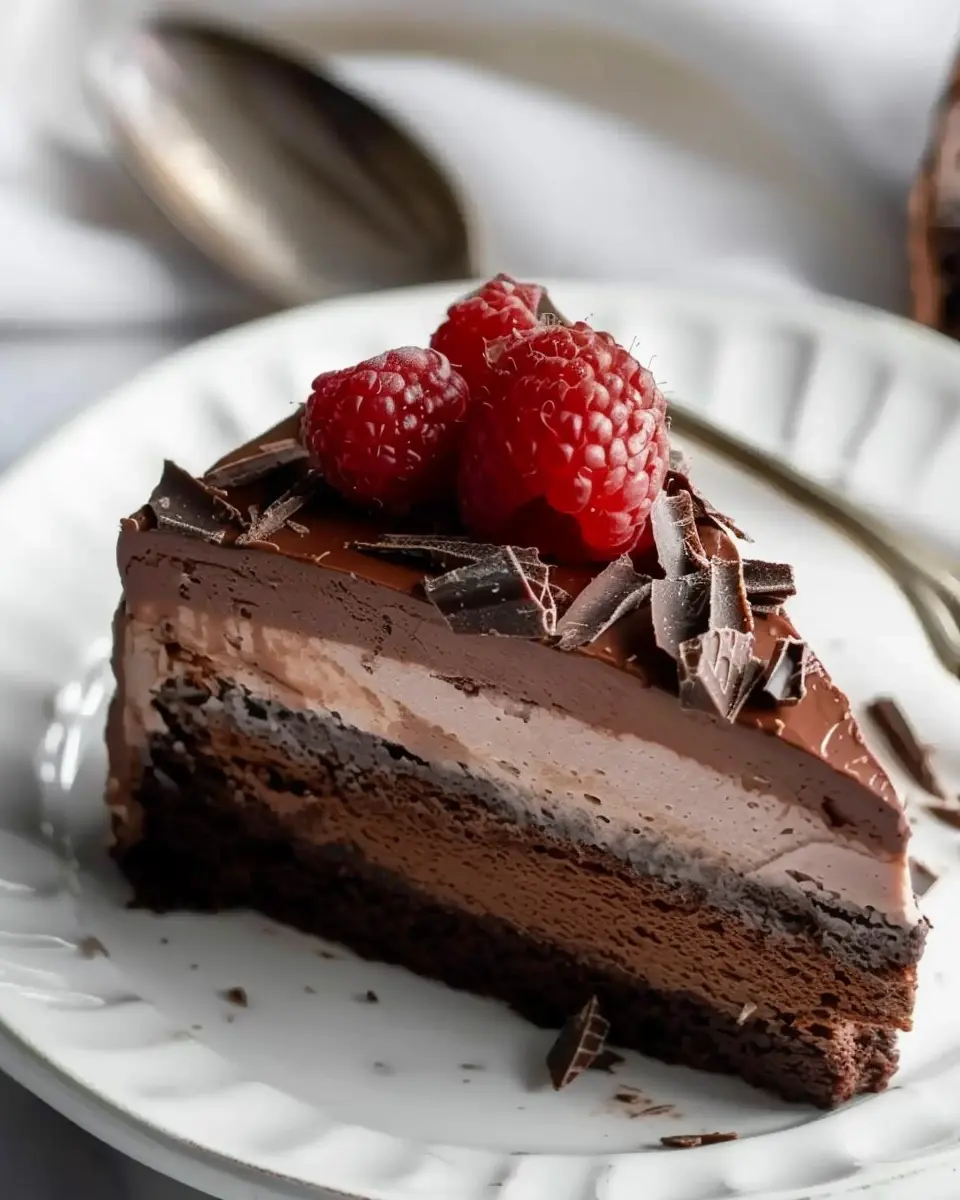
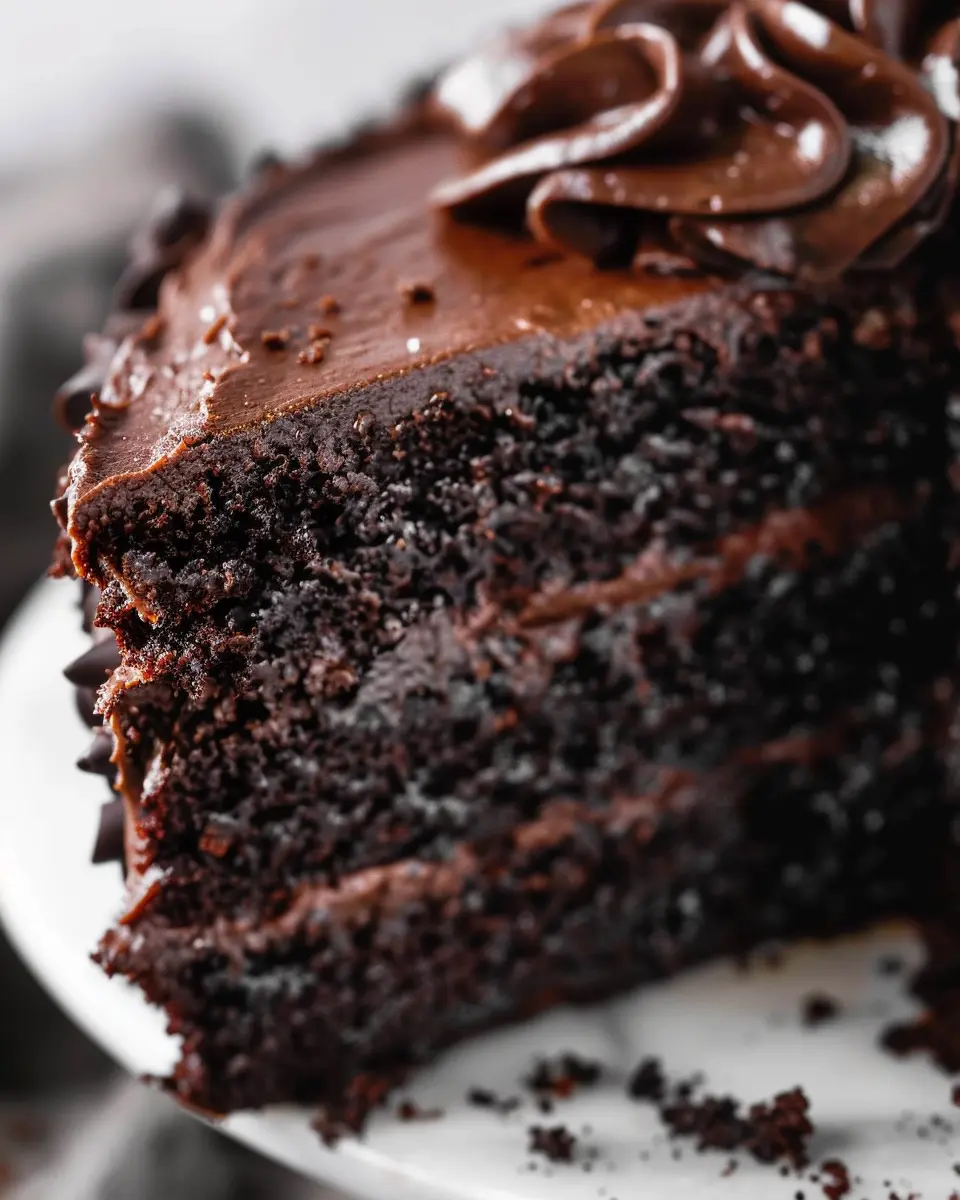
Brooklyn Blackout Cake is not just any dessert; it’s a celebration of chocolate that brings a delightful dose of nostalgia. Originating in the 1940s at Ebinger’s Bakery in Brooklyn, New York, this cake was named in honor of the blackout drills during World War II. Its original recipe featured layers of moist chocolate cake, a rich chocolate pudding filling, and a generous coating of chocolate crumbs, giving it an undeniably decadent appeal.
What makes this cake truly special is its simplicity combined with bold flavors. With the combination of dark cocoa and sweet, creamy notes, every bite transports you back to a time when life felt a bit more indulgent. If you’re curious about how this slice of history became a beloved treat not just in Brooklyn but across the nation, take a look at sources like Serious Eats for a deep dive into its origins.
Why every young professional should try making this cake
Let’s face it: life as a young professional can be hectic. Between juggling deadlines, attending networking events, and grabbing quick meals on the go, the streets of your life can feel a bit overwhelming. Enter the Brooklyn Blackout Cake Recipe. Imagine carving out just a few hours to channel your inner baker, creating something delicious and rewarding. Yes, you could run to the nearest bakery, but why not surprise yourself with your baking prowess?
Here’s why you should give this delectable cake a whirl:
- A confidence booster: Baking from scratch is no small feat, and successfully creating this cake will give you a newfound sense of accomplishment.
- Perfect for gatherings: Whether it’s a weekend get-together with friends or a professional birthday celebration, this cake is sure to impress. Who wouldn’t love a slice of rich, velvety chocolate?
- Therapeutic experience: There’s something quite soothing about the process of measuring ingredients, whisking, and watching the cake rise beautifully in the oven. It’s a great way to unwind after a long week.
With just a little effort, you will find that Brooklyn Blackout Cake isn’t just about the confection itself, but the experience of creating it. So, why not roll up your sleeves and bring some sweet joy to your day? Stay tuned for the full recipe—it’s going to be a delicious treat you won’t forget!
Ingredients for Brooklyn Blackout Cake
Creating a decadent Brooklyn Blackout Cake is an exciting adventure that starts with gathering the right ingredients. Here’s everything you’ll need to whip up this indulgent treat!
Dry Ingredients List
- 1 ½ cups all-purpose flour
- 1 cup unsweetened cocoa powder
- 1 teaspoon baking soda
- 1 teaspoon baking powder
- ½ teaspoon salt
Wet Ingredients List
- 1 cup whole milk
- ½ cup vegetable oil
- 1 ½ cups granulated sugar
- 2 large eggs
- 1 teaspoon vanilla extract
Pudding Filling Ingredients
- 1 cup whole milk
- ½ cup granulated sugar
- ¼ cup unsweetened cocoa powder
- 2 tablespoons cornstarch
- 1 tablespoon butter
Frosting Ingredients
- 1 cup unsweetened cocoa powder
- 1 cup unsalted butter, softened
- 4 cups powdered sugar
- ¼ cup whole milk
- 1 teaspoon vanilla extract
Now that you have the ingredients ready, you’re one step closer to mastering this Brooklyn Blackout Cake Recipe! For more baking tips and tricks, consider checking out The Kitchn for some great kitchen advice!
Step-by-Step Preparation for Brooklyn Blackout Cake
Embarking on the journey to make a Brooklyn Blackout Cake is not just about baking; it’s an adventure that ends with a decadent treat. This rich, chocolatey delight has a fascinating history rooted in Brooklyn, New York, making it the perfect indulgence for celebrations or just a special dessert night. Follow these steps, and you’ll have a showstopping cake that will impress your friends and family.
Preheat the oven and prep the cake pans
Before diving into mixing and whisking, you’ll want to prepare your space. Preheat your oven to 350°F (175°C) to ensure it’s hot and ready for your cake layers. While that’s happening, grab two 9-inch round cake pans. Grease them generously with butter and dust them with flour to ensure your cake layers come out smoothly. Not using parchment paper at the bottom? It’s not mandatory, but it can provide extra insurance against sticking.
Combine the dry ingredients in a bowl
In a large mixing bowl, whisk together your dry ingredients. This includes:
- 1 and 3/4 cups all-purpose flour
- 3/4 cup unsweetened cocoa powder (the star of our cake)
- 2 cups granulated sugar
- 1 and 1/2 teaspoons baking soda
- 1 and 1/2 teaspoons baking powder
- 1 teaspoon salt
Sifting your cocoa and flour not only helps eliminate lumps but also aerates them, resulting in a fluffy cake batter. Curious about the chemistry behind it? Check out this expert baking guide, which explains how each ingredient plays a role.
Mix the wet ingredients separately
Now it’s time for the wet ingredients, which will bring our cake to life! In another bowl, combine:
- 2 large eggs
- 1 cup whole milk (for richness)
- 1/2 cup vegetable oil
- 2 teaspoons vanilla extract
Whisk until everything is well-blended and starts to froth a bit. Do you need extra moisture? Consider adding a few tablespoons of brewed coffee for an added depth of flavor!
Combine wet and dry ingredients, then add coffee
Pour your wet mixture into the dry ingredients bowl. Stir until just combined; avoid overmixing. If you opted for coffee, now’s the time to add about 1 cup of hot brewed coffee for that extra kick of flavor. The batter should be quite runny; that’s a good thing, so don’t fret!
Bake the cake layers and cupcakes
Now it’s time to pour that beautiful batter into your prepared cake pans. Divide the mixture evenly and pop them into the oven. Bake for about 30-35 minutes until a toothpick inserted in the center comes out clean. As an extra tip, consider making a batch of chocolate cupcakes with any leftover batter—perfect for tasting or sharing!
Prepare the pudding filling while the cake emerges
While your cakes are baking, whip up a delicious chocolate pudding filling. Use instant pudding mix, as it’s quicker (about 2 cups of milk and 1 box of pudding mix) and prepare according to package instructions. Once thickened, allow it to cool—this will create a silky cream layer between the cake.
Create the frosting with chocolate and butter
For your frosting, you’ll want something rich and indulgent. Beat together:
- 1 cup unsalted butter (softened)
- 3 cups powdered sugar
- 1/2 cup unsweetened cocoa powder
- 1/4 cup whole milk
- 2 teaspoons vanilla extract
This will yield a luscious frosting that’s sure to complement the layers beautifully. Tip: If the frosting becomes too thick, add a splash more milk to reach your desired consistency.
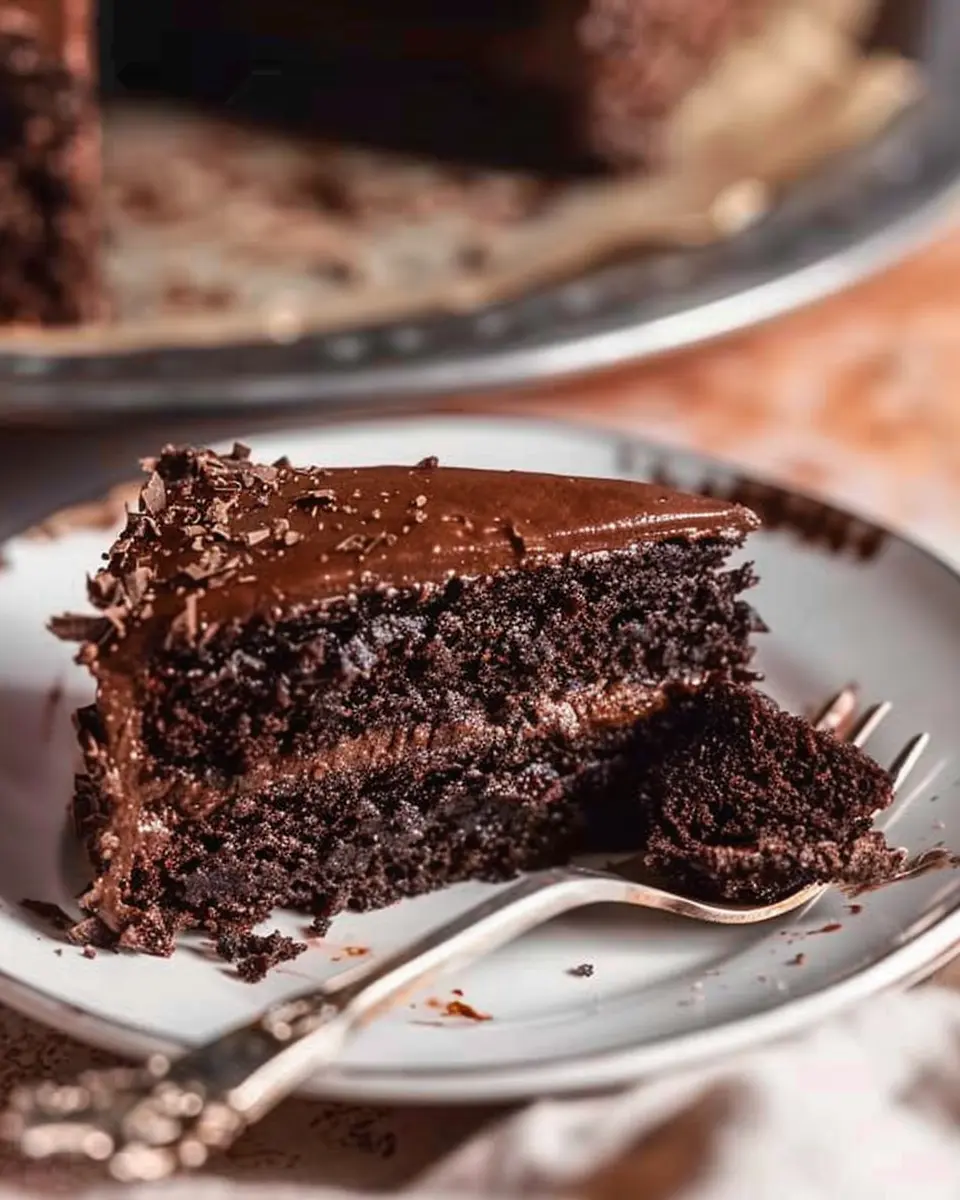
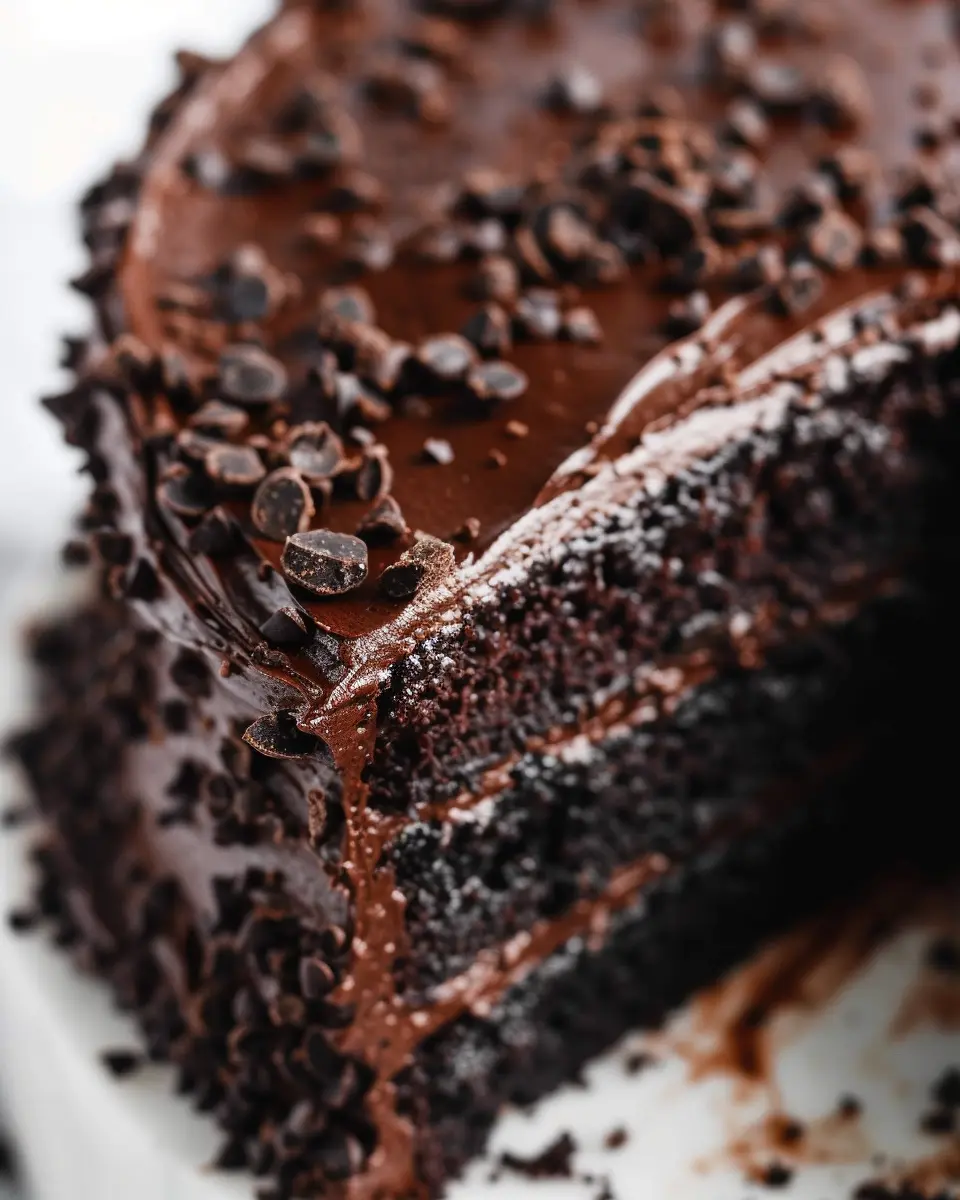
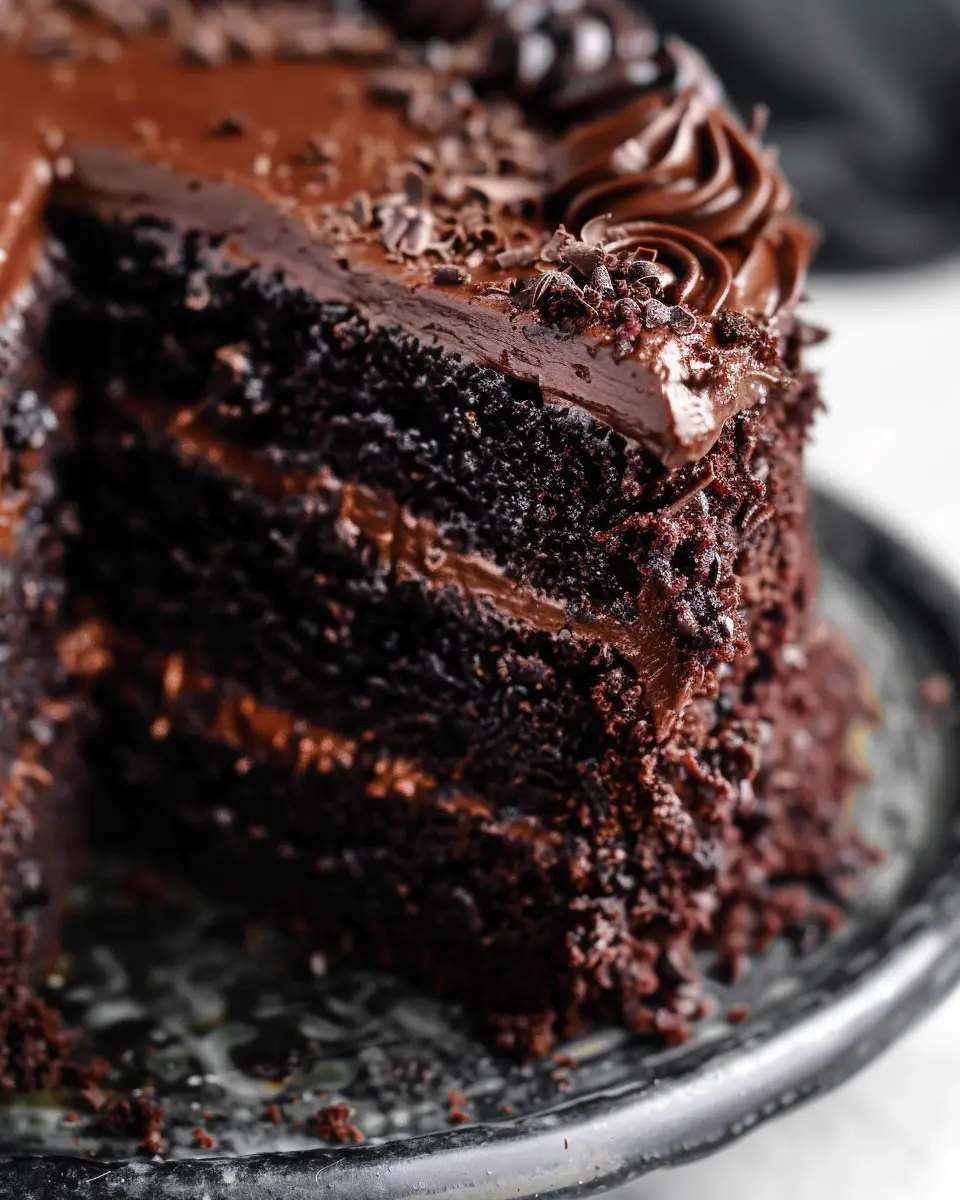
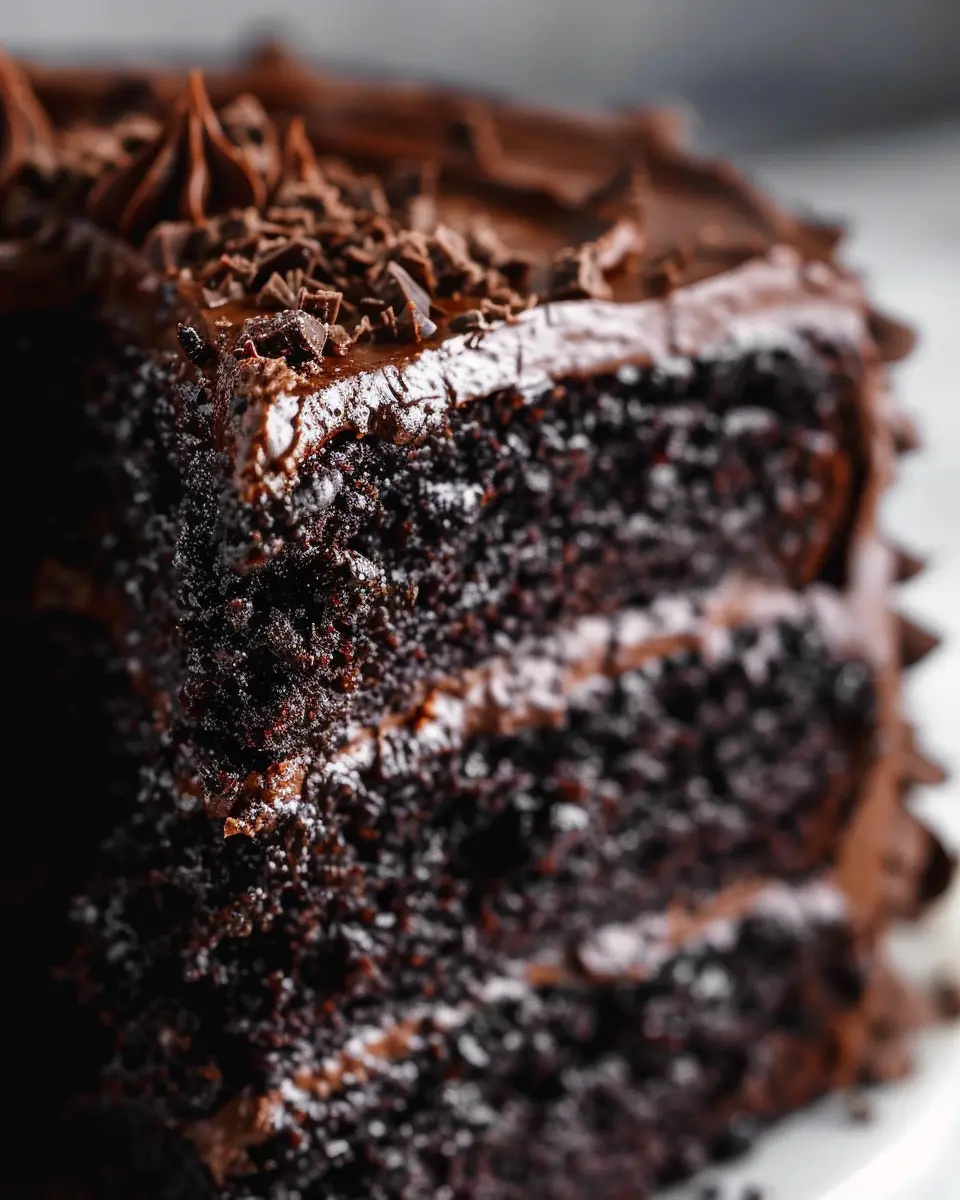
Assemble your decadent cake masterpiece
Finally, it’s time for the fun part—assembly! Place one cake layer on a serving platter, spread a layer of chocolate pudding, add the second layer, and then cover the entire cake with your rich frosting. You can even sprinkle some chocolate crumbs or shavings on top for that classic Brooklyn Blackout Cake finishing touch.
Now stand back and admire your creation! This cake isn’t just about flavor; it’s a visual delight. Your friends and family will be wowed, and it won’t take long until they’re begging for the recipe! Enjoy every bite of your homemade masterpiece.
Variations on Brooklyn Blackout Cake
There’s so much room for creativity with a Brooklyn Blackout Cake Recipe! Here are some fun ways to tailor the cake to fit your taste buds or special occasions.
Adding Different Flavors to the Pudding
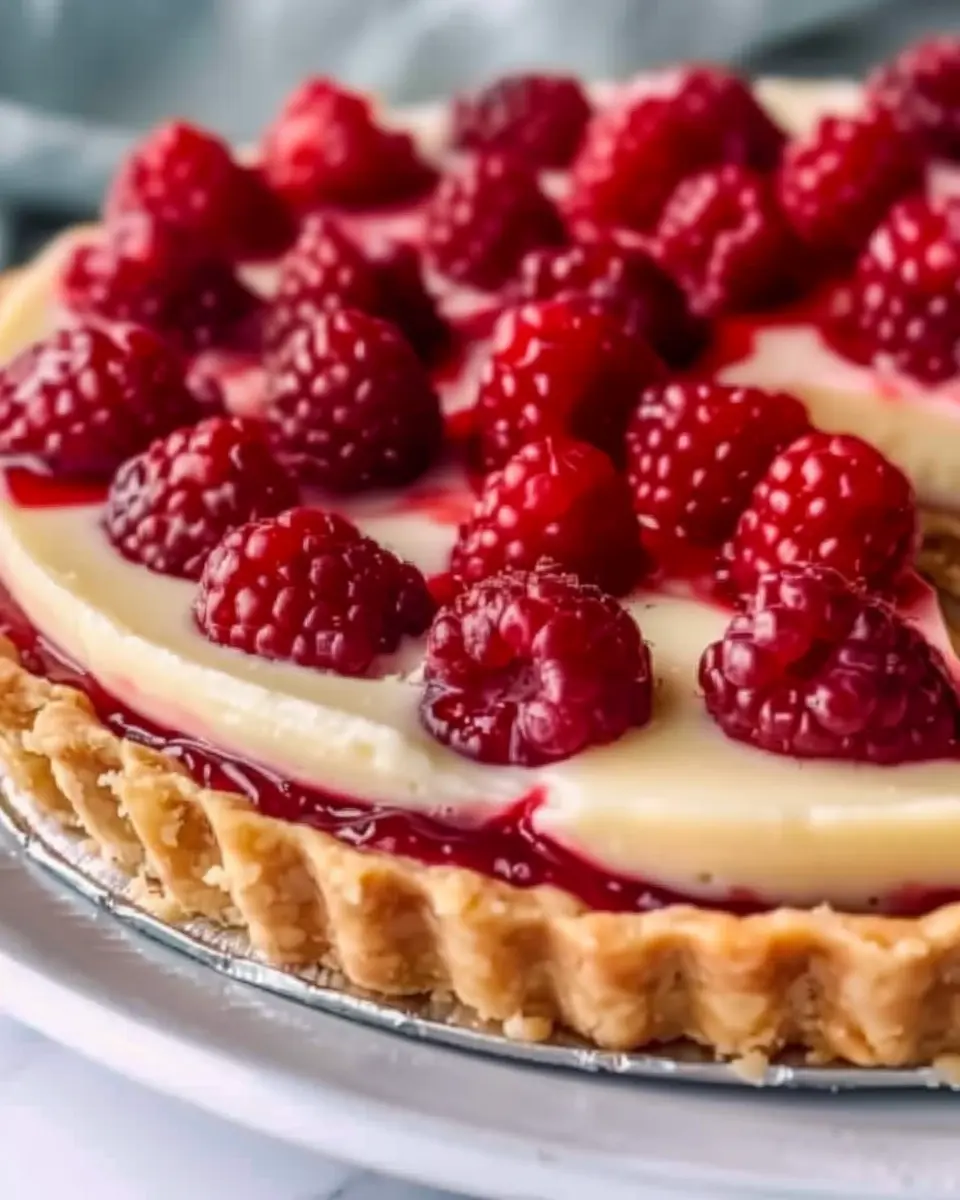
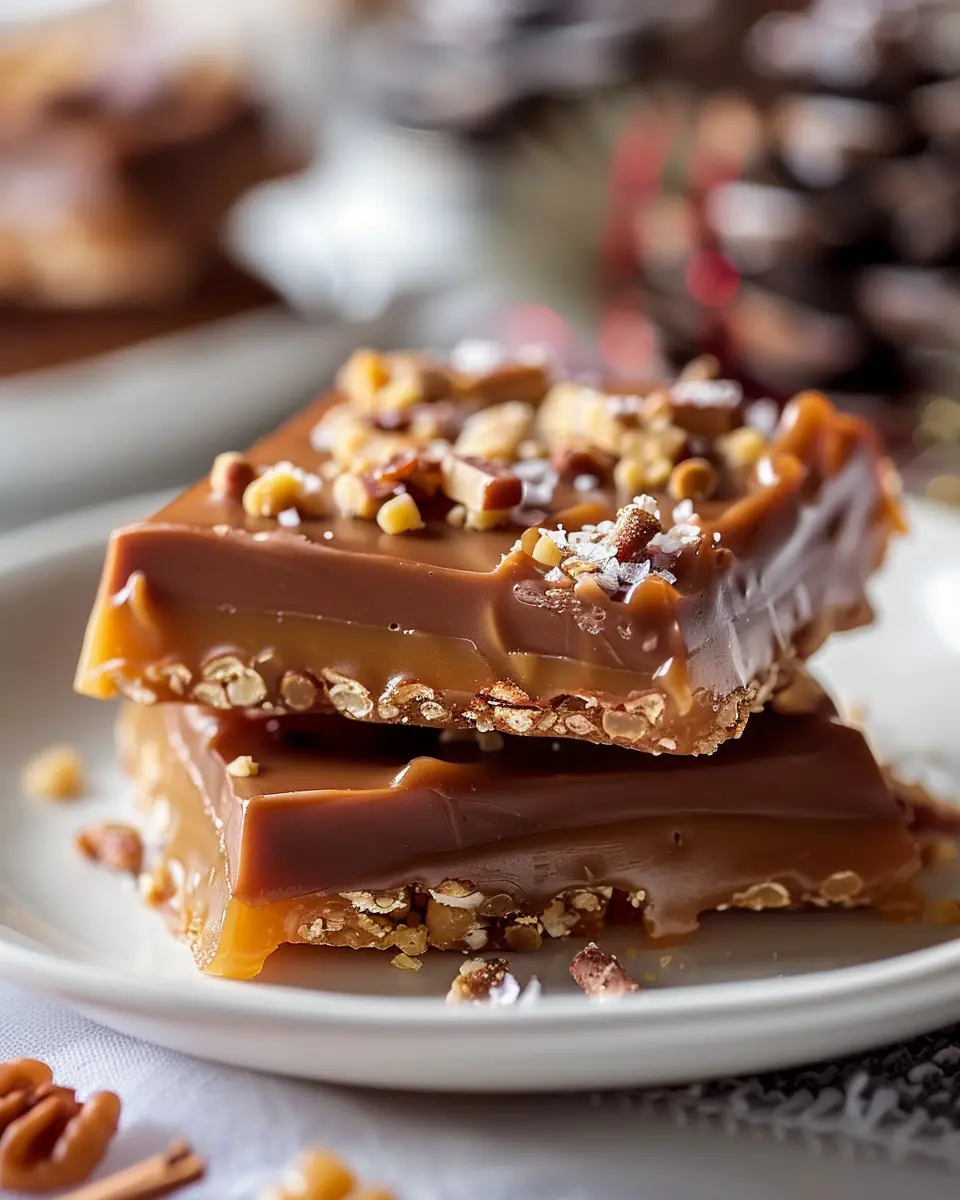
While the classic version features a rich chocolate pudding, don’t hesitate to get adventurous! Imagine a luscious caramel pudding layered between the chocolate cake—talk about a flavor explosion! For a fruity twist, consider incorporating raspberry or strawberry puree into your pudding mix. This not only adds a refreshing taste but also a visually appealing splash of color!
Experimenting with Frosting Styles
The texture and flavor of your frosting can significantly change the vibe of your Brooklyn Blackout Cake. While traditional recipes often call for a thick chocolate ganache, you could opt for a whipped frosting for a lighter touch. Whipped cream cheese or vanilla frosting can create a delightful contrast against the dense layers of cake, making for an interesting culinary experience. Plus, the airy texture might be just what you need if the cake feels too rich!
Alternative Cake Flour Options
If you’re looking for a gluten-free option or simply want to experiment with different textures, consider using almond flour or coconut flour in your cake mix. These alternatives can lend a unique flavor while keeping your cake moist and tender. If you’re unsure how to substitute, a good rule of thumb is to use a 1:1 ratio, but do check specific flour guidelines for the best results.
With these variations, your Brooklyn Blackout Cake can evolve into something personal and unforgettable. Happy baking!
Cooking Tips and Notes for Brooklyn Blackout Cake
Tips for Ensuring a Moist Cake
To achieve a deliciously moist Brooklyn Blackout Cake, consider the following helpful tips:
-
Use room temperature ingredients: This includes your eggs and butter. Softened ingredients blend better, leading to a more even batter and texture.
-
Don’t overmix: Once you combine your wet and dry ingredients, mix just until incorporated. Overmixing can lead to a denser cake.
-
Add a sour cream or yogurt twist: Introducing these dairy components not only adds flavor but also moisture. If you’re curious about how dairy affects baking, check out this insightful article.
How to Make Clean Cake Layers
When it comes to making your layers pristine, a few steps can make all the difference:
-
Grease and flour the pans: Ensure even baking and easy release. If you want to eliminate worries, consider using parchment paper at the bottom.
-
Use a serrated knife: Trim the tops of your cakes for even layering. It may sound simple, but a level base is crucial for stacking.
-
Cool completely: Let the cakes cool in the pans for about 10-15 minutes before transferring to a wire rack. This minimizes breakage.
Armed with these tips, your Brooklyn Blackout Cake will leave a lasting impression! Happy baking!
Serving Suggestions for Brooklyn Blackout Cake
Perfect pairings with beverages
Enjoying a slice of Brooklyn Blackout Cake is a delightful experience, but pairing it with the right drink can elevate it to new heights. Consider serving this rich cake with:
- Freshly brewed coffee: The bold flavors of a dark roast complement the intense chocolate decadence.
- Milk or almond milk: A classic duo that balances the richness while adding a comforting touch.
- Herbal tea: If you prefer a lighter option, chamomile or peppermint tea can cleanse your palate beautifully.
Looking for something a bit different? Check out this guide to pairing desserts with beverages for more ideas!
Ideal occasions for serving this cake
The Brooklyn Blackout Cake Recipe is perfect for various occasions. Imagine presenting it at:
- Birthdays: Everyone loves a chocolate cake on their special day, and this one is sure to impress.
- Celebrations: Be it a promotion or a new home, this cake adds a touch of elegance.
- Casual gatherings: Share it with friends over coffee or for a cozy night in, making any gathering feel special.
No matter the setting, this cake is bound to steal the spotlight!
Time Breakdown for Brooklyn Blackout Cake
When you’re gearing up to bake a stunning Brooklyn Blackout Cake, it’s helpful to know how to budget your time effectively. Here’s a handy breakdown to keep your baking session organized and stress-free!
Preparation Time
Set aside about 30 minutes for preparation. This includes gathering ingredients, prepping your cake pans, and mixing your batter. It’s a great time to savor the excitement that comes with baking!
Baking Time
The baking itself will take around 35 to 40 minutes. Depending on your oven, it’s key to keep an eye on your cakes to achieve that perfect, moist texture.
Cooling and Assembly Time
After baking, let your layers cool for about 1 hour. Once they’re cool enough to handle, assembling your Brooklyn Blackout Cake might take another 30 minutes. This step is all about layering those rich flavors together, ensuring each bite delivers that classic indulgence.
With this time breakdown, you’ll navigate through your baking adventure with ease. Ready to dive in? For insightful tips on ingredient swaps or techniques, check out The Kitchn. Happy baking!
Nutritional Facts for Brooklyn Blackout Cake
When indulging in a rich dessert like the Brooklyn Blackout Cake, it’s crucial to balance enjoyment with nutrition. Here’s a quick look at what you’re really indulging in.
Calories per slice
Each slice of this sumptuous cake typically contains around 500 calories. While it’s a delightful treat for special occasions, it’s always good to be mindful of portion sizes to keep your diet in check.
Breakdown of sugars and fats
- Sugars: Approximately 45 grams per slice
- Fats: Roughly 25 grams, including saturated fats that lend to that luscious texture
If you’re looking for more insights on managing sugar intake, consider visiting Healthline for detailed resources. Remember, while Brooklyn Blackout Cake satisfies your sweet cravings, moderation is key! Have you tried any creative alternatives to enrich your baking experience? Share your thoughts!
FAQs about Brooklyn Blackout Cake
Can I make this cake ahead of time?
Absolutely! The Brooklyn Blackout Cake recipe is perfect for making in advance. Prepare the cake layers and allow them to cool completely, then wrap them tightly in plastic wrap. They can stay fresh in the fridge for up to three days or in the freezer for up to a month. Just remember to let them thaw in the fridge overnight before you frost them. Being able to prep ahead can really save you time, especially if you’re planning for a celebration!
What’s the best way to store leftovers?
If you find yourself with delicious leftovers (which is usually the case!), store the cake in an airtight container in the refrigerator. It will stay fresh for about a week. For longer-lasting enjoyment, consider freezing it. Slice the cake, wrap each piece in plastic wrap, and place them in a freezer-safe bag. They’ll maintain their flavor for up to three months! Just a quick thaw at room temperature, and you can relive the deliciousness anytime.
How can I make this cake gluten-free?
Making a gluten-free version of the Brooklyn Blackout Cake recipe is quite simple! Substitute the all-purpose flour with a gluten-free blend that includes xanthan gum (if it’s not already included). You may want to explore options like almond flour or coconut flour for a different texture. Just ensure that all other ingredients, such as baking powder and cocoa powder, are gluten-free as well. This way, you can share this scrumptious cake with friends who have dietary restrictions without compromising on taste!
For more gluten-free baking insights, check out resources like Gluten-Free Baking. Happy baking!
Conclusion on Brooklyn Blackout Cake
Reflect on the joy of homemade desserts
Nothing quite compares to the satisfaction of creating a stunning dessert like the Brooklyn Blackout Cake. There’s a sense of accomplishment when you take a bite of that rich, chocolatey goodness knowing you made it from scratch. Homemade desserts not only highlight your culinary skills but also bring joy to those you share them with. Celebrating milestones, or simply indulging yourself, becomes extra special when it’s a labor of love.
Encourage experimentation in the kitchen
Don’t hesitate to make this Brooklyn Blackout Cake Recipe your own! Kitchen creativity is what turns good recipes into great memories. Try swapping ingredients or adding unique twists — think flavored frostings or unexpected fillings. Embrace those happy accidents; you never know when you might stumble upon your new favorite treat. So, gather your ingredients, roll up your sleeves, and enjoy the delicious journey of baking! Remember, every great chef was once an amateur. For more tips on dessert creativity, check out this guide on flavor pairing.
PrintBrooklyn Blackout Cake Recipe: The Indulgent Chocolate Delight
Indulge in the rich and decadent layers of chocolate with this Brooklyn Blackout Cake recipe that will satisfy every chocolate lover’s craving.
- Prep Time: 20 minutes
- Cook Time: 35 minutes
- Total Time: 55 minutes
- Yield: 12 servings 1x
- Category: Desserts
- Method: Baking
- Cuisine: American
- Diet: Vegetarian
Ingredients
- 2 cups all-purpose flour
- 2 cups granulated sugar
- 3/4 cup unsweetened cocoa powder
- 1 1/2 tsp baking soda
- 1 1/2 tsp baking powder
- 1 tsp salt
- 2 large eggs
- 1 cup whole milk
- 1/2 cup vegetable oil
- 2 tsp vanilla extract
- 1 cup boiling water
Instructions
- Preheat oven to 350°F (175°C).
- Grease and flour two 9-inch round cake pans.
- In a large bowl, combine the flour, sugar, cocoa powder, baking soda, baking powder, and salt.
- Add the eggs, milk, oil, and vanilla extract to the dry ingredients and mix well.
- Stir in the boiling water until fully combined.
- Pour the batter evenly into the prepared pans.
- Bake for 30-35 minutes or until a toothpick inserted comes out clean.
- Allow cakes to cool in the pans for 10 minutes, then transfer to a wire rack to cool completely.
Notes
- For an extra chocolatey flavor, use a high-quality cocoa powder.
- Letting the cake sit overnight enhances the flavors.
Nutrition
- Serving Size: 1 slice
- Calories: 350
- Sugar: 30g
- Sodium: 300mg
- Fat: 15g
- Saturated Fat: 6g
- Unsaturated Fat: 9g
- Trans Fat: 0g
- Carbohydrates: 50g
- Fiber: 3g
- Protein: 5g
- Cholesterol: 40mg
Keywords: Brooklyn Blackout Cake, chocolate cake, dessert recipe, indulgent cake